I’ve been flying RVs for 22 years now and something has always bothered me about the electric flaps. Don’t get me wrong, I love the RV flaps. It’s just that I get tired of holding the flap switch up when I’m on a go-around or when shooting touch-and-goes. So, if you’re like me, you probably listen for the telltale rumble the flap motor makes when the flaps are fully up. Either that or you glance out at the wing to see if the flaps are up—or both—and then let go of the switch. A distraction? Definitely!
Not to mention the safety aspect of messing with the flaps while you’re trying to add power, talk on the radio, clear for traffic and ask for a closed pattern, etc. And lately I’ve gotten into the habit of taking off with about 15° of flaps to save on tire wear.
Wouldn’t it be nice to just flip the flap switch up after takeoff and forget about the flaps? OK, now you’re in a nice safe climb or on downwind, go ahead and glance down at the flaps, make sure they’re up, and then, and only then, reposition the flap switch to neutral. Or just leave the switch up. You won’t hurt a thing.
Here’s another safety issue: I’ve been talking to some guys who have the flap switches on their Infinity grip. They mentioned that on occasion they would takeoff and flip their flap switch up and forget about it only to discover later in the flight that their flap motor had been running the whole time! I’m in favor of the ON (up) position on the flaps switch, but if you’re going to do that, you definitely want to add an up-limit microswitch to the circuit!
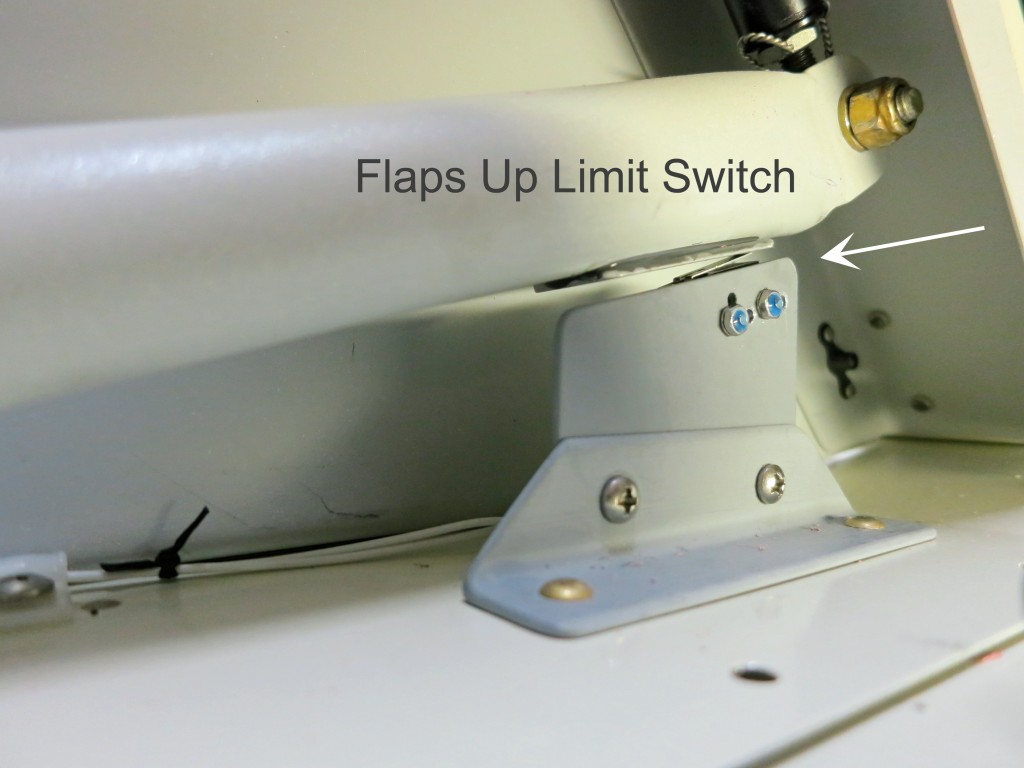
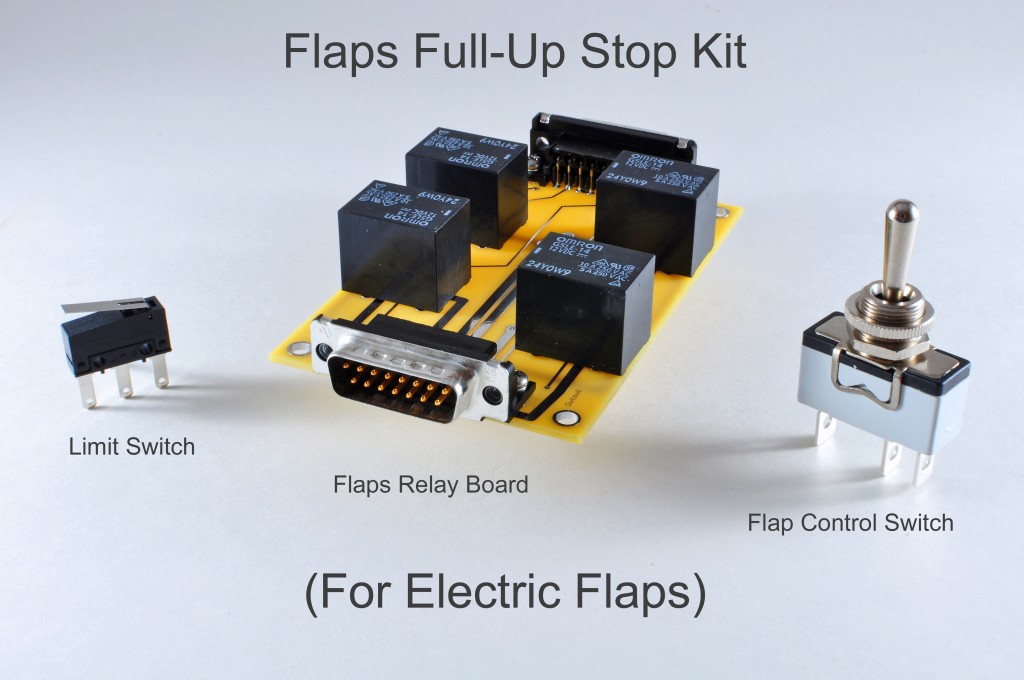
So, I’ve just developed a prototype kit and have been testing it in my RV-6—and I like it a lot! In keeping with the KISS principle, the kit consists of the bare essentials: a single pole double throw switch (ON-OFF-(ON)), a flaps-up limit switch, and a simple flap relay PCB board. This replaces my old DPDT ((ON)-OFF-(ON)) clunker in the panel. So now instead of spring-loaded UP and DN, the new switch stays UP and spring-loads DN. The power lead doesn’t go through the switch anymore, thus the flap amperage isn’t going through the switch, and in theory anyway, the switch should last longer.
The key to this mod is the Flap Relay Board. The flaps-up limit switch will not work with the old DPDT switch as wired. Maybe you could find a way to make it work, but by far the simplest and best method in my opinion is to use the reversing relays like the ones in the Flap Relay Board. Especially for you Infinity grip guys who don’t need the flap motor amperage running through your grip! This way, there’s just a tiny bit of current (about 33 mA) flowing through your flap control switch and through your up-limit microswitch.
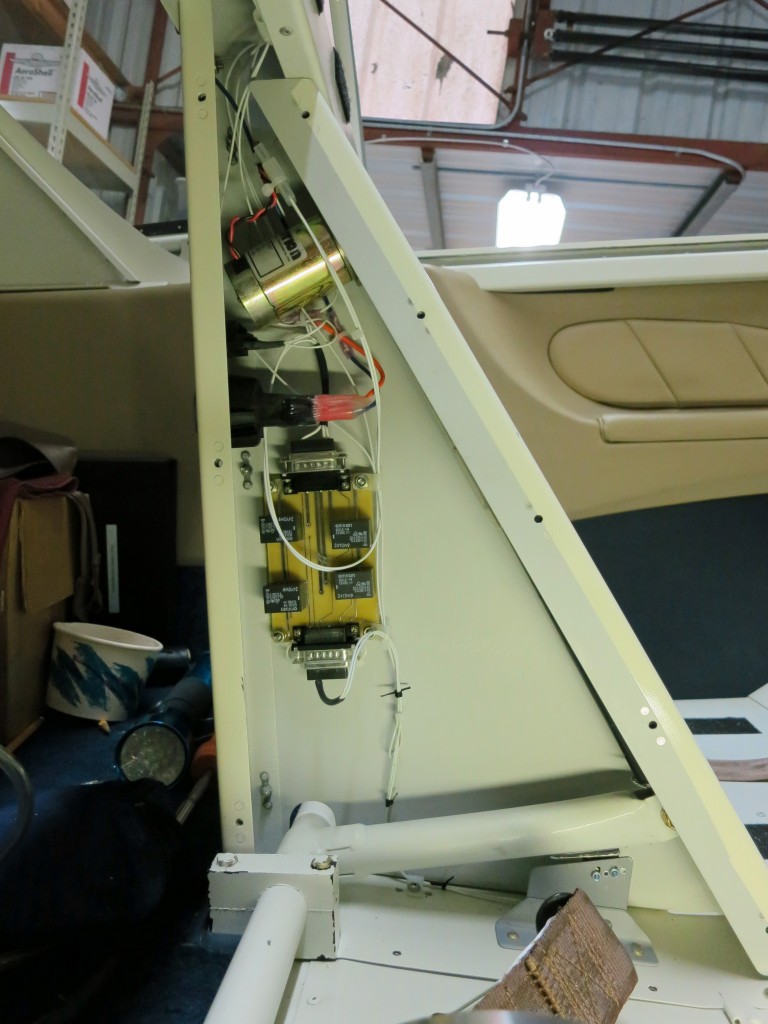
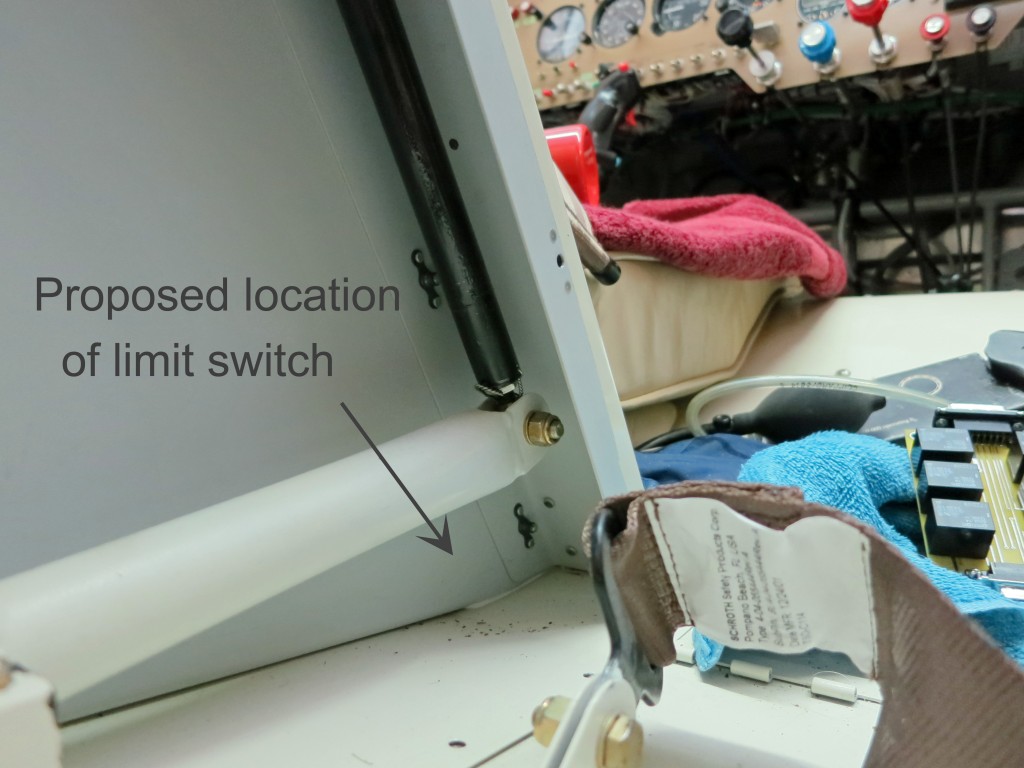
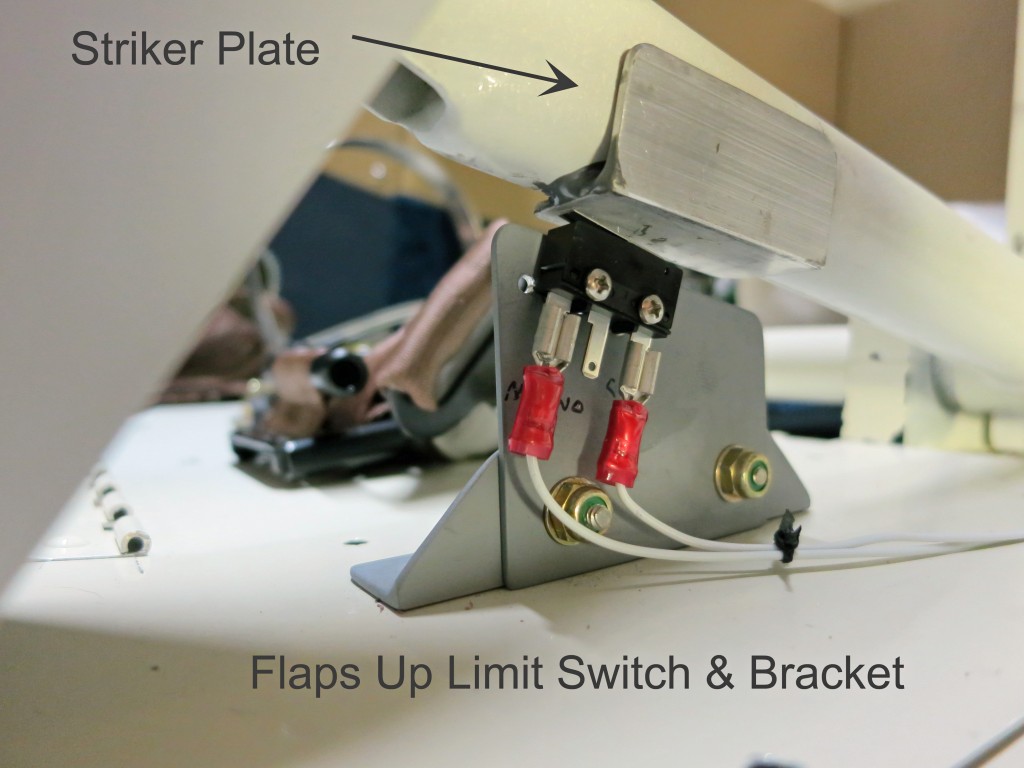
So you pull the old switch out of the panel, make a small modification to the wiring, find a place to install the limit switch, mount the Flap Relay Board (FRB) in the flaps enclosure, wire the new stuff up, and you’re ready to go. I think you can complete the mod in a day.
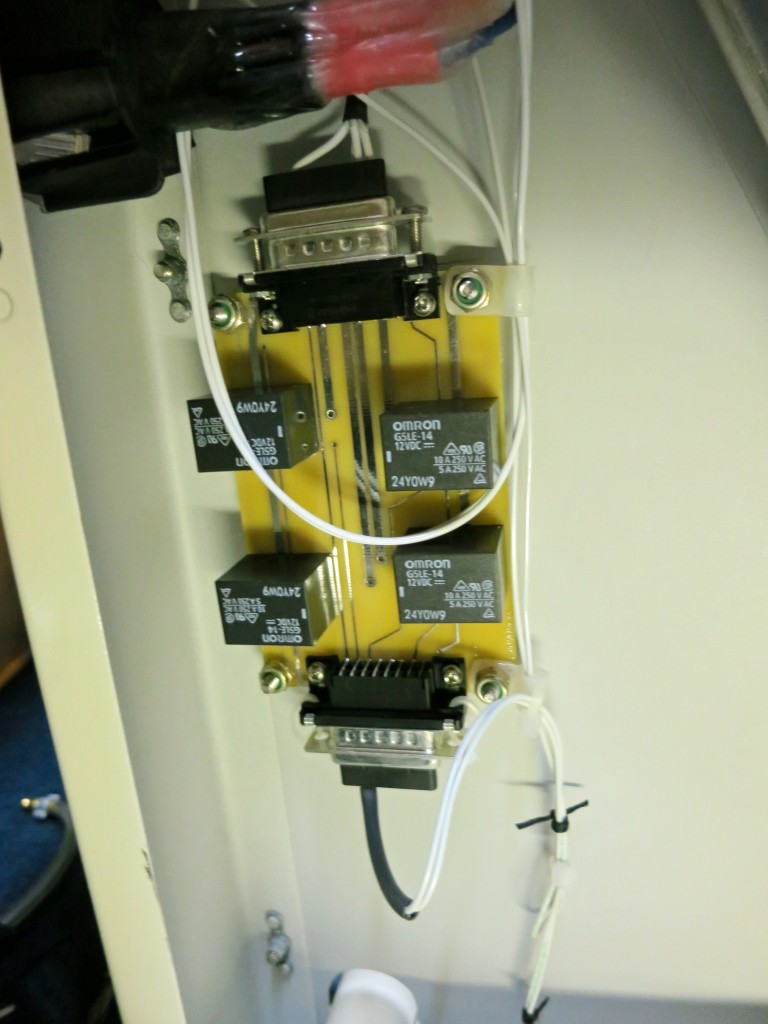
The attached photos are of the installation of the kit in my RV-6. There are slight differences in all the RV models, so it may be necessary to take a slightly different approach in your particular airplane.
I don’t know why it took so long for me to make this mod. This is definitely one of the neatest upgrades I’ve done to my airplane. I know a lot of you have already done this on your own airplane and therefore I’m sure you are enjoying the benefits. For those of you who haven’t, here’s an easy way to accomplish this hugely worthwhile mod!
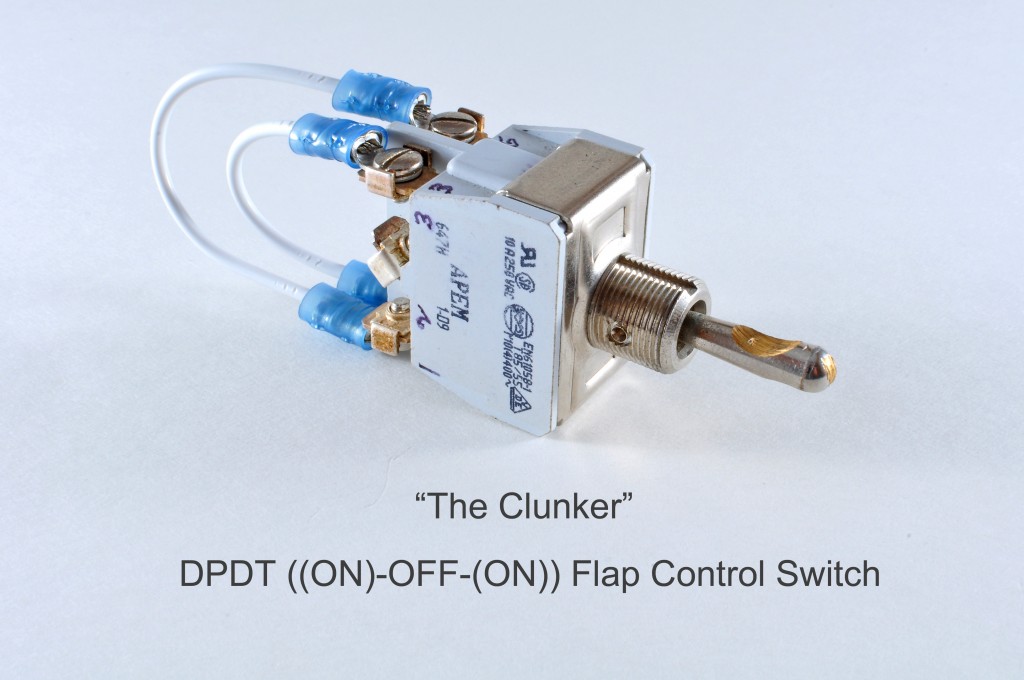
So, I put the kit together and am introducing it as a new product which you can order here on the site. I have kits available now for immediate shipping.
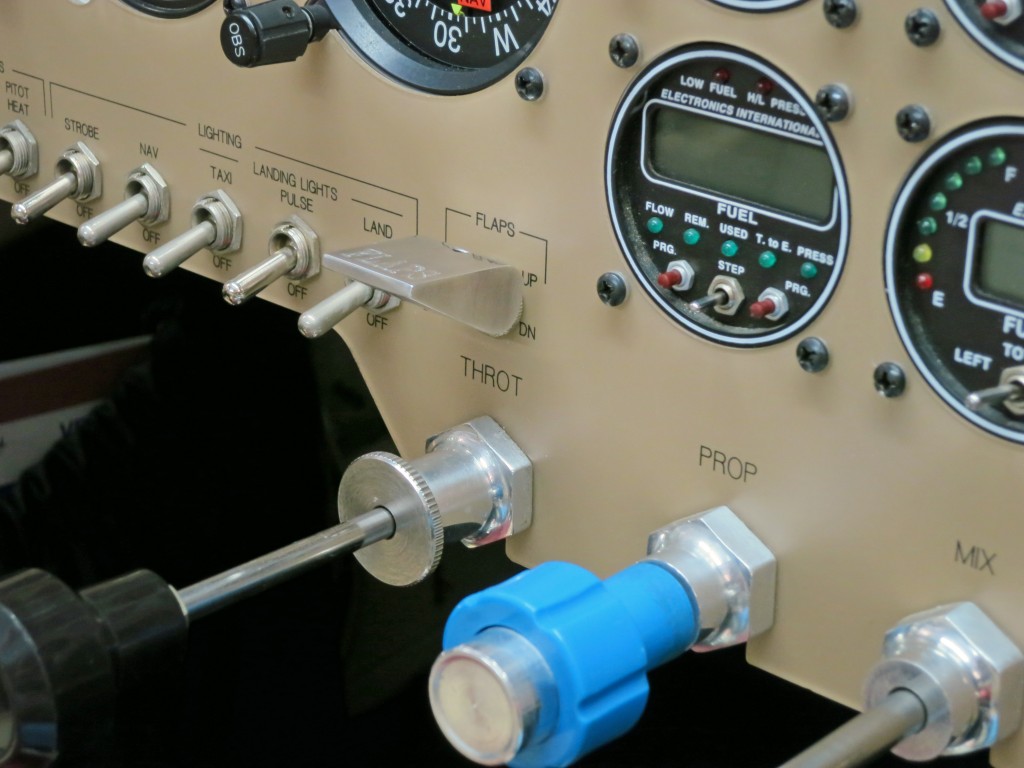
Note: I was able to pull the flap-shaped lever off the old switch and used it on the new switch—see last photo. I made this lever out of a solid chunk of aluminum and worked it on the disk sander and scotchbrite wheel, then had it engraved.
